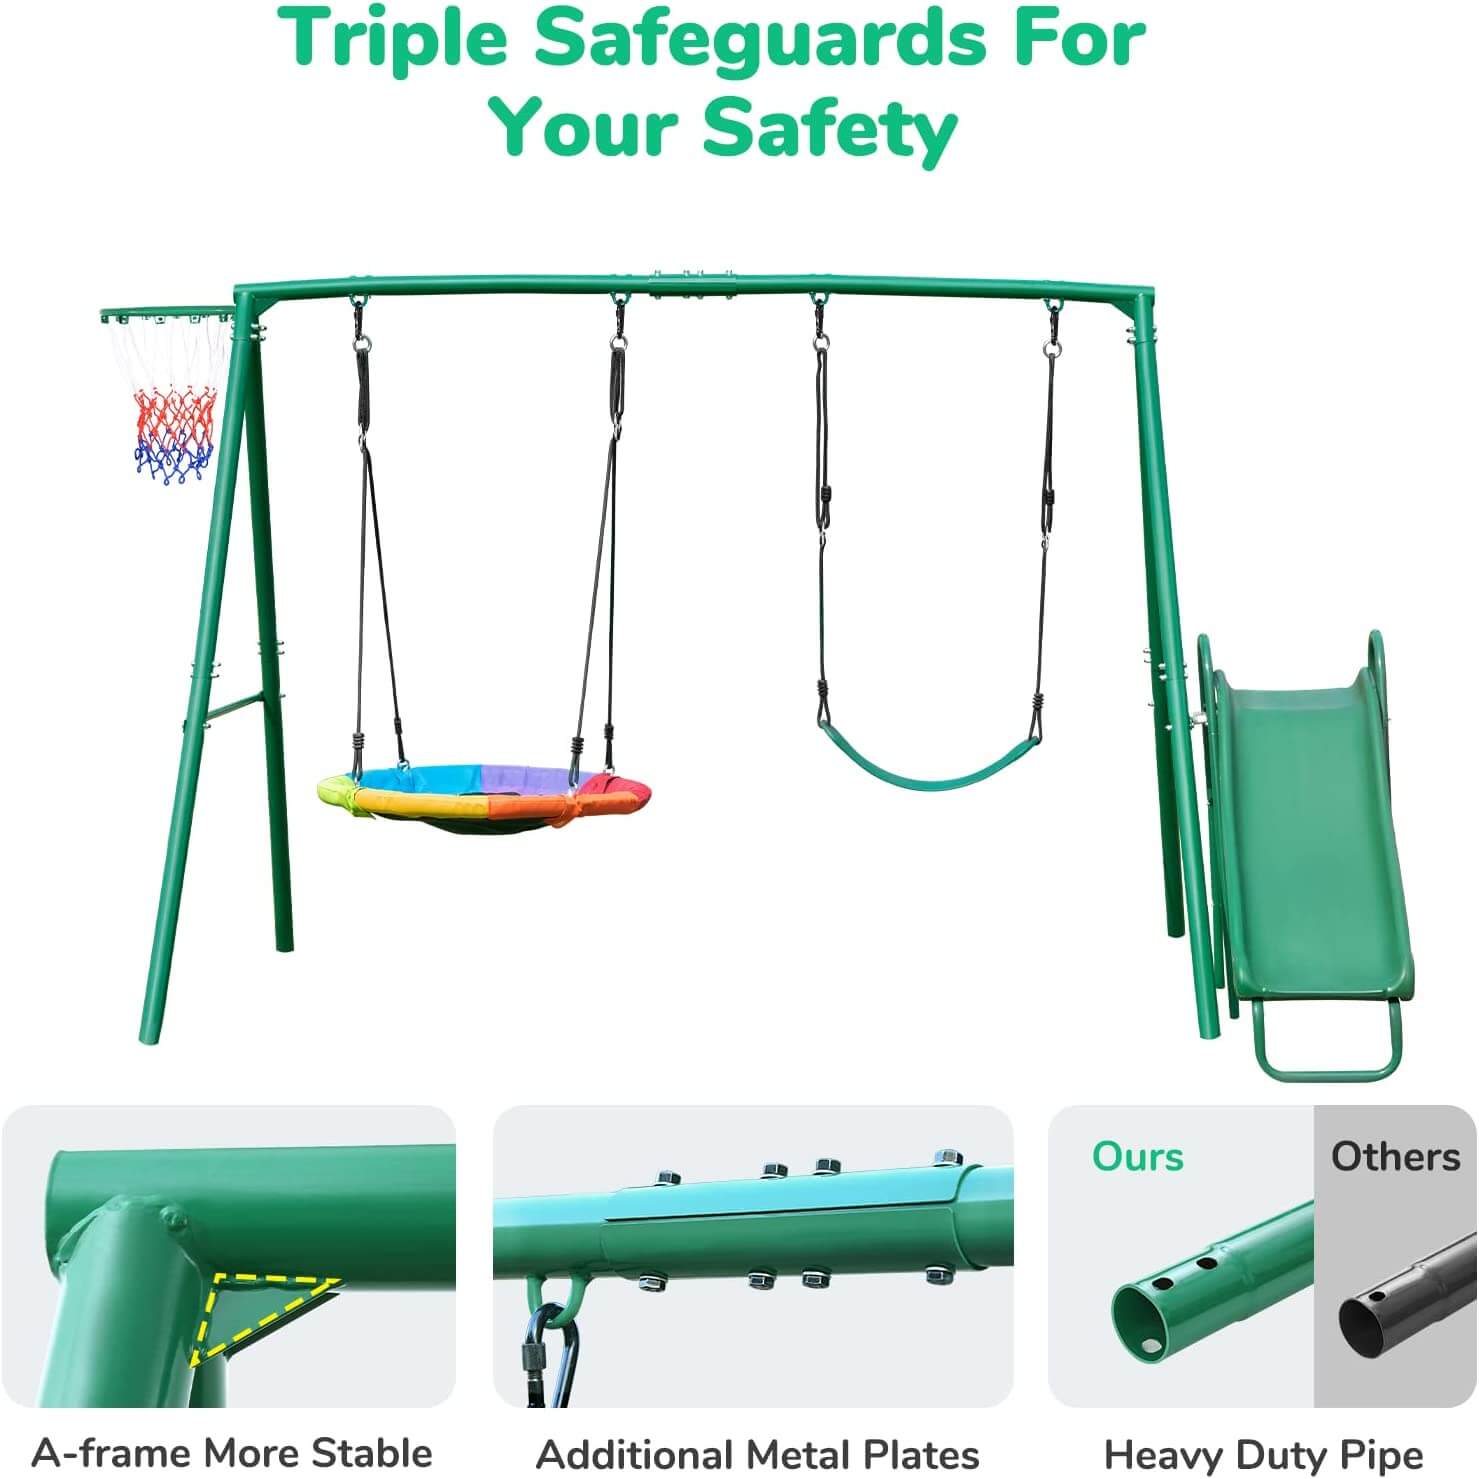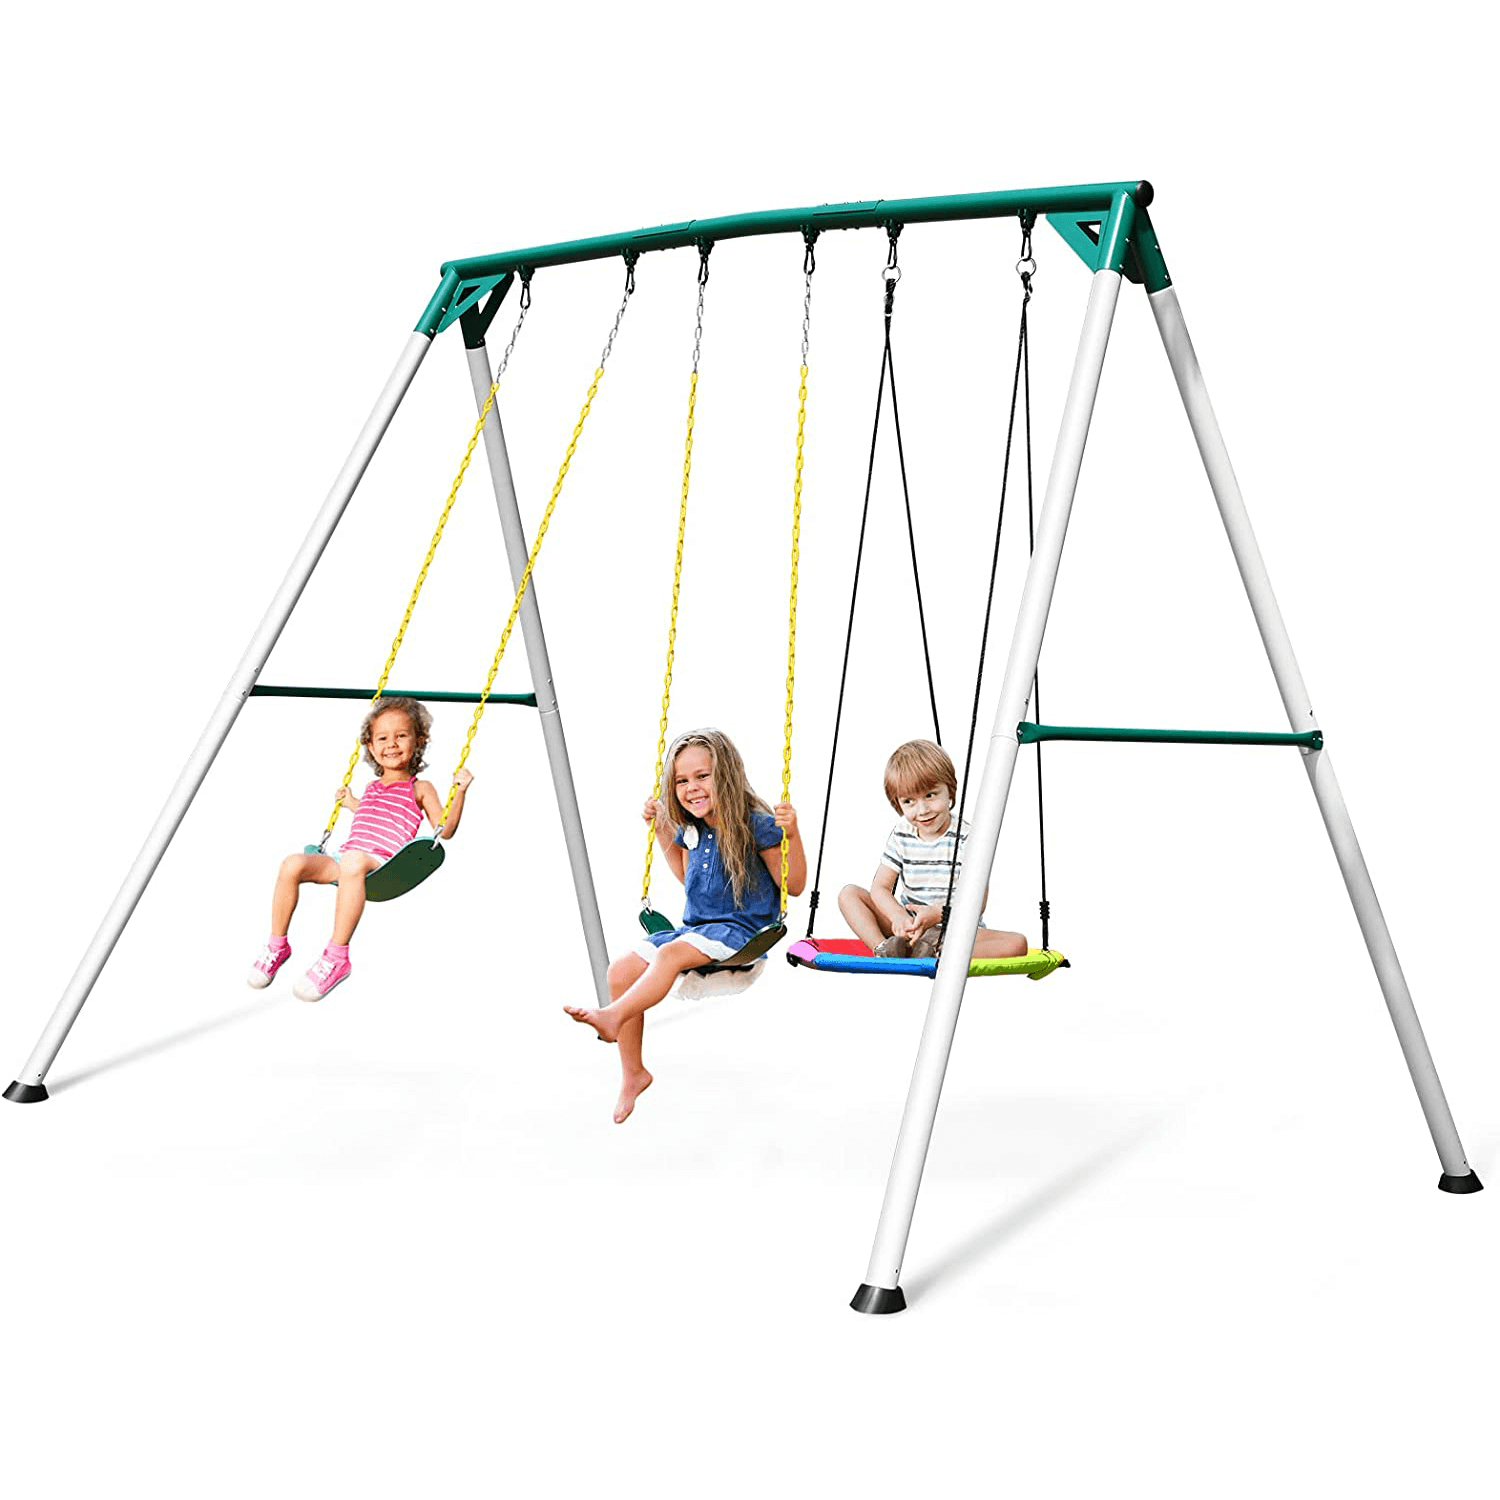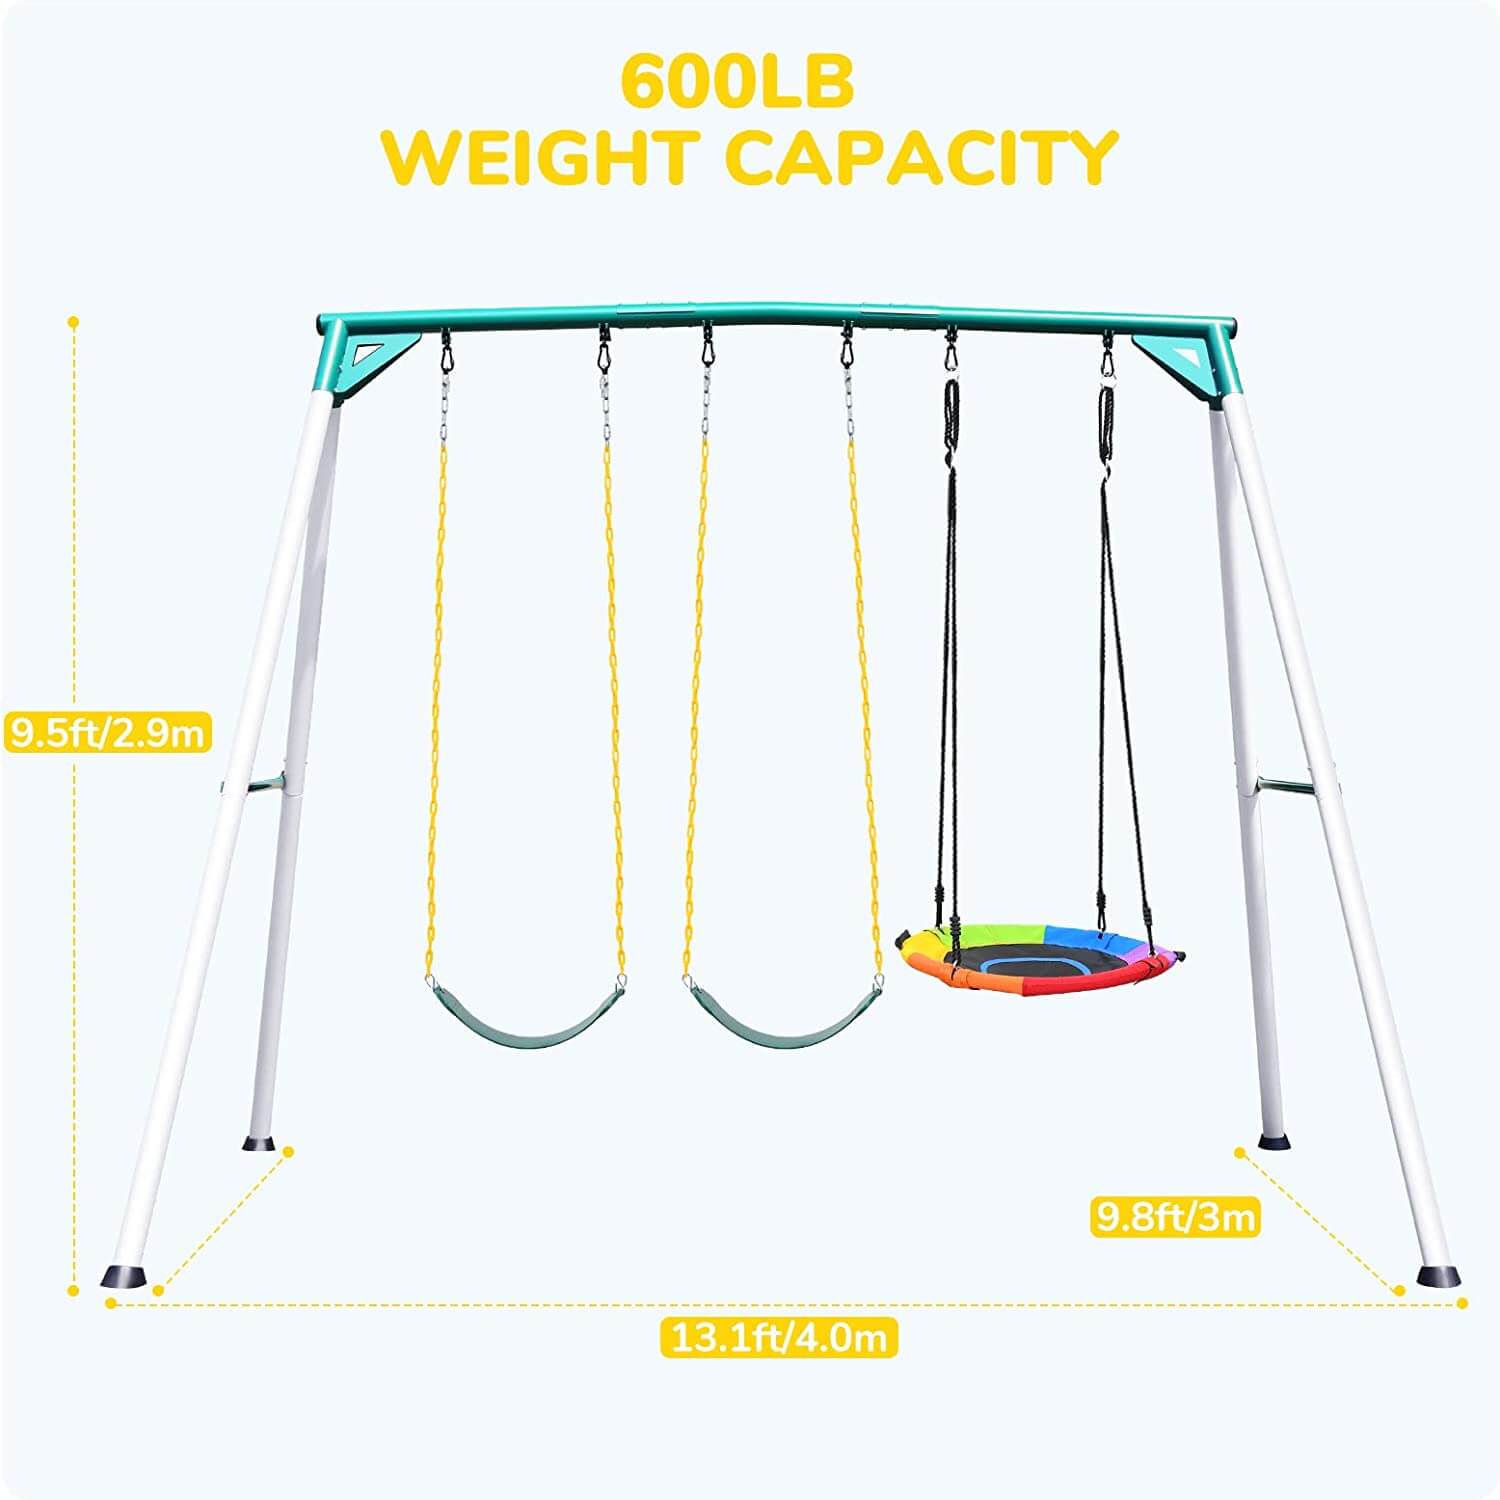

How to properly install a Trekassy 440lbs 2 Swing Set?
The safety of your children is our primary concern!
-
The swing set is ONLY for domestic use, not for public use.
-
Do not use this swing set on hard-packed soil, concrete, or any kind of hard surface.
-
The swing set should be set on a flat surface and maintain a distance of at least 2 meters from other structures or obstacles, such as fences, garages, houses, projecting branches,clotheslines or electric cables, etc.
-
People who participate in the assembly process should wear safety glasses throughout the assembly.
-
Children MUST NOT use this swing set until the installation is complete.
-
Choking hazard! Small parts should be kept away from children.
-
Children under 3 years old are not suitable for playing this product.
-
Children must be under supervision when they contact or use the product to prevent the risk of falling or the strangulation of long ropes.
-
Do NOT allow children to get close to the moving swings or other moving equipment.
-
Do NOT allow children to get off the swing while it is swinging.
-
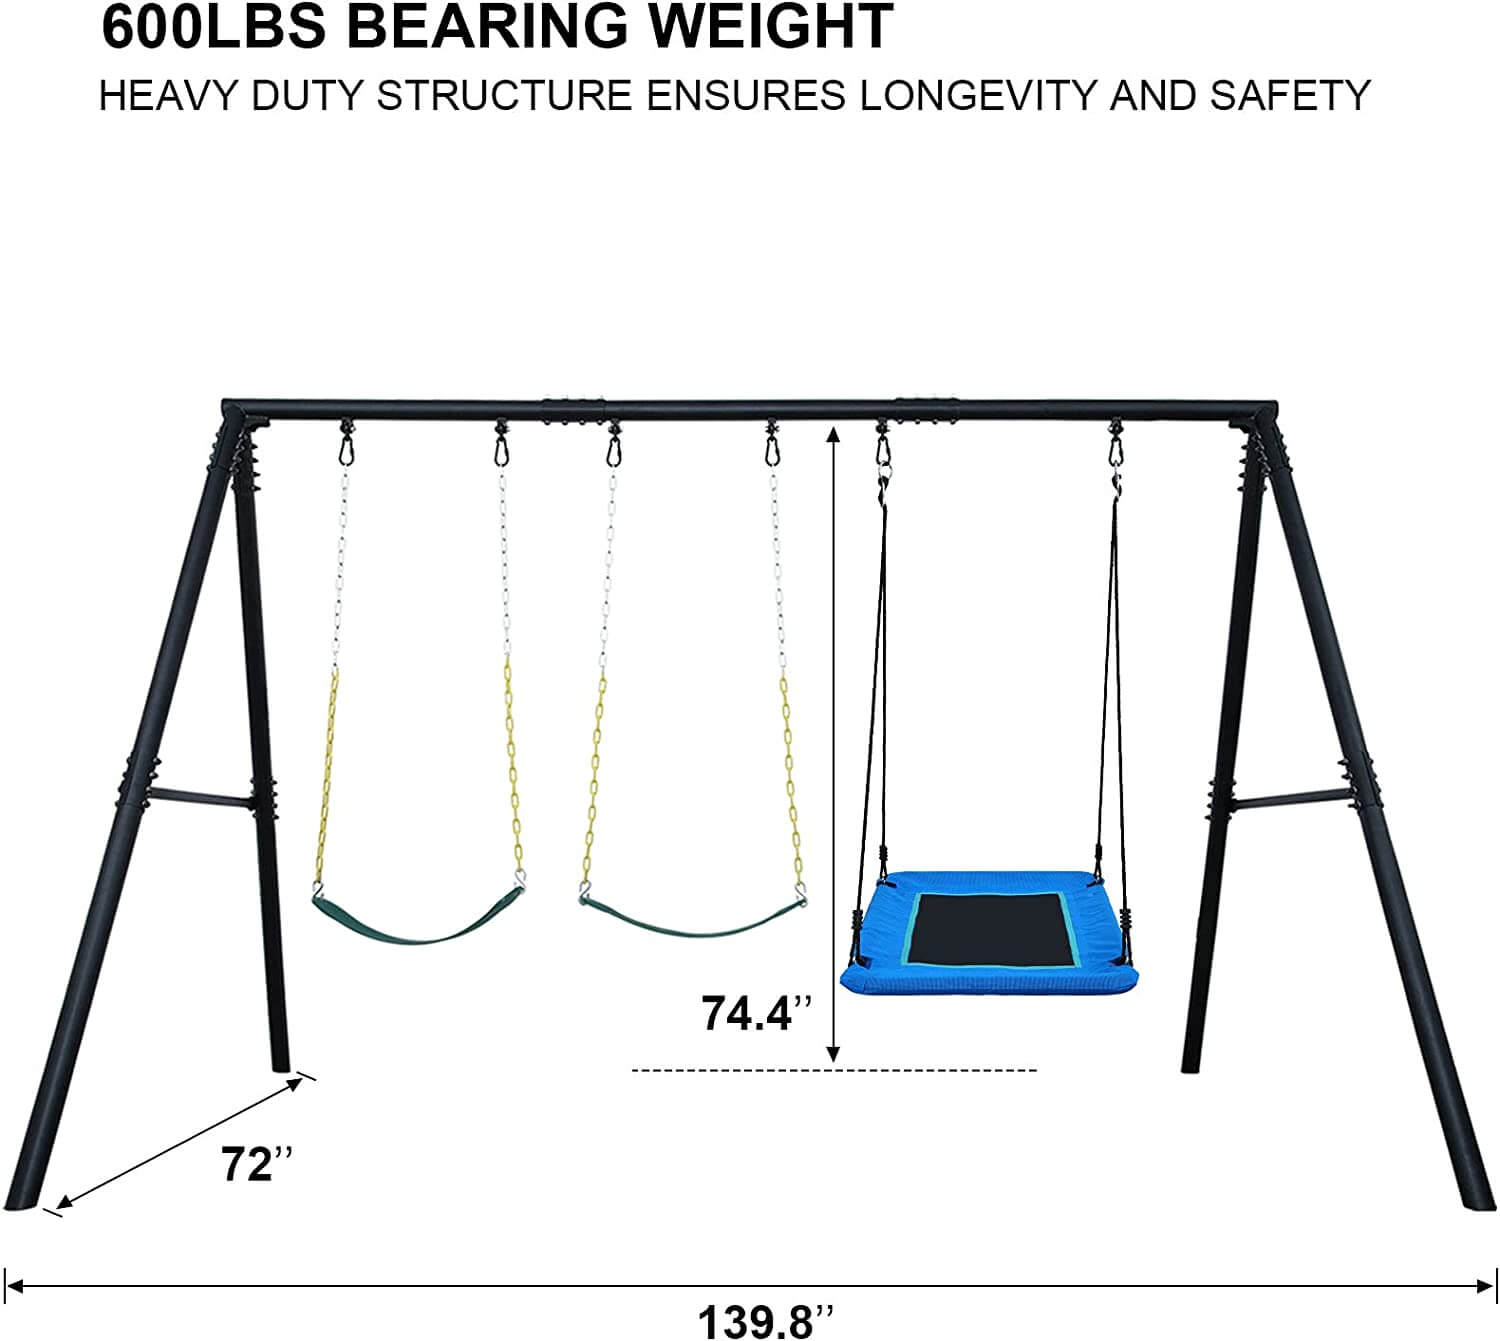
The recommended height from the ground to the swing seat is 20 in (50 cm).
-
Periodically check and maintain the swing set, and ensure that all hardware is in good condition
TOOLS NEEDED

Tools may required (not included): Tape Measure, Hammer, Flathead and Phillips Head Screwdriver


AREA OF INSTALLATION- SWING SET TOP BAR

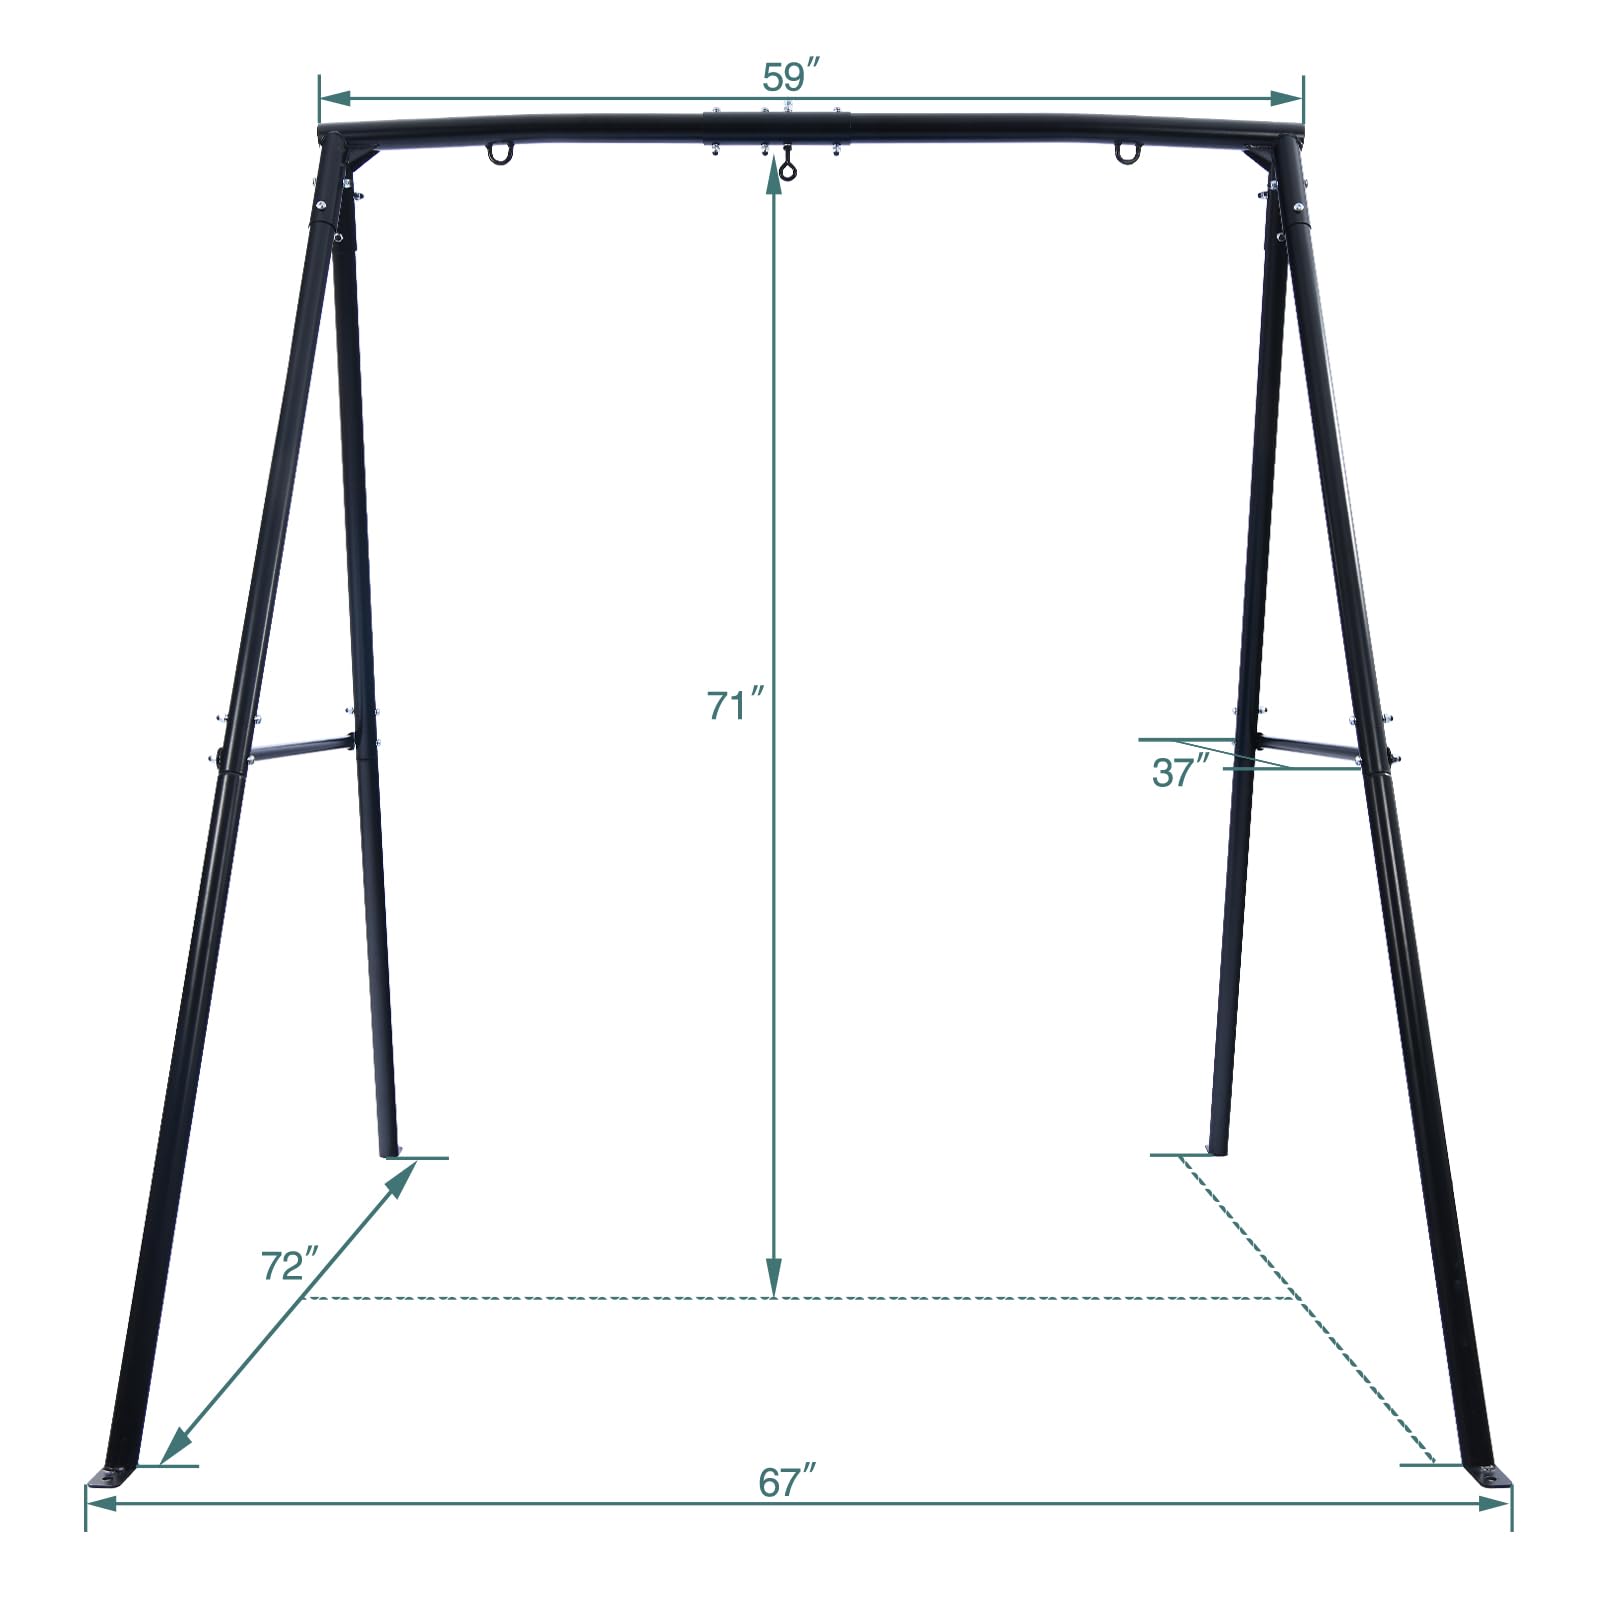
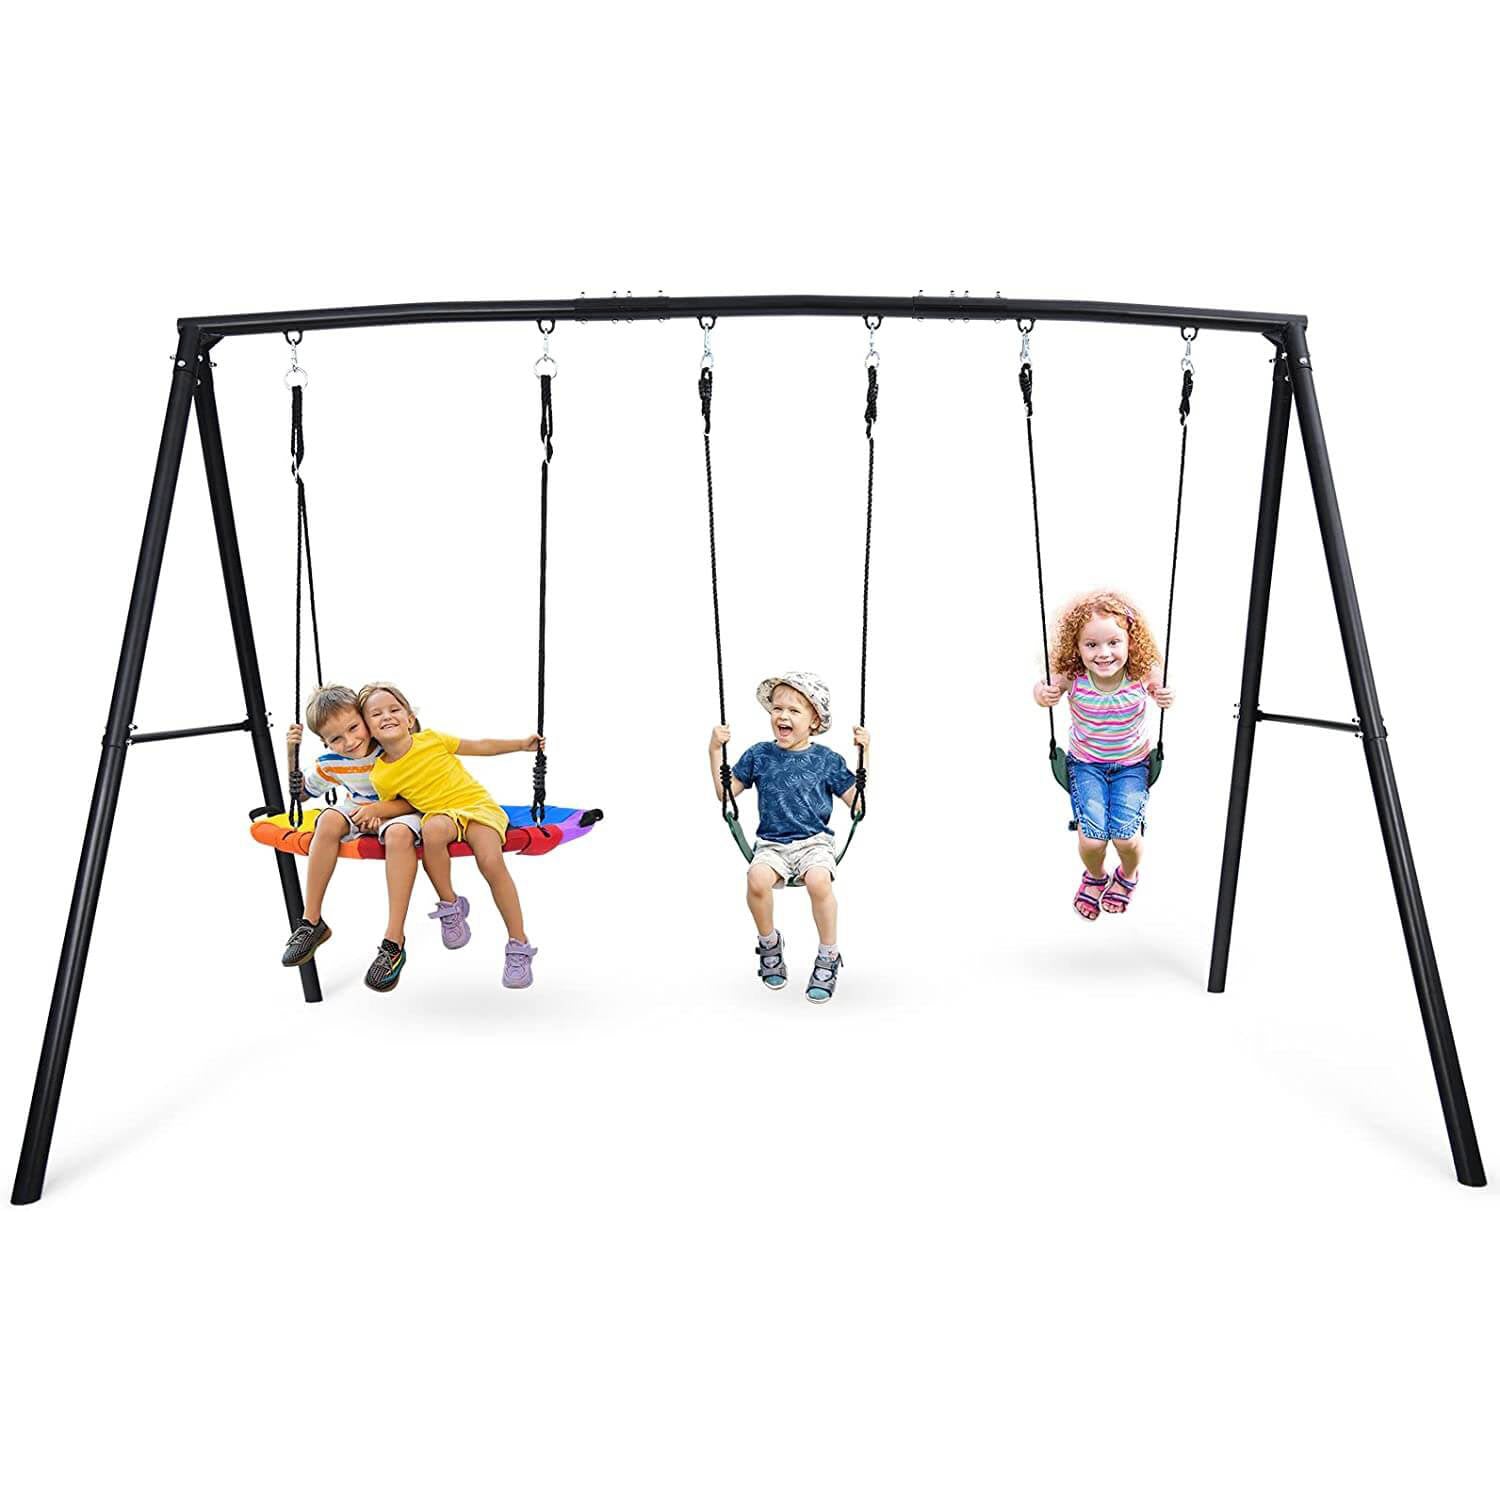
STEP 1–Assemble the top bar frame of the swing set
Connect Top Bars A1 and A2 together with B5, A9, B3, B6 and B2 as shown below.
All round holes should be facing up and concave holes facing down.
NOTE: For easier assembly, do not tighten the bolts all the way initially to allow room for adjustment. You must
go back and fully tighten all bolts after the entire swing set is assembled.

STEP2–Assemble the support legs of swing set
Connect A3 to A1 and A2 secure with B1, B3, B6 and B2 as shown below.
Note: Please make sure that concave holes face down and round holes face up.

STEP3–Assemble the lower side legs of swing set
Connect Legs A4 to A3, secure with B1, B3, B6 and B2 as shown below

STEP 4–Cross Bars Assembly
Attach A5 to the outer sides of A4 and secure using B1,B4, B3, B6 and B2 as shown below.
REMINDER: Once you have completed assembling the swing frame, make sure to go over the previous steps and fully tighten all the nuts and bolts.


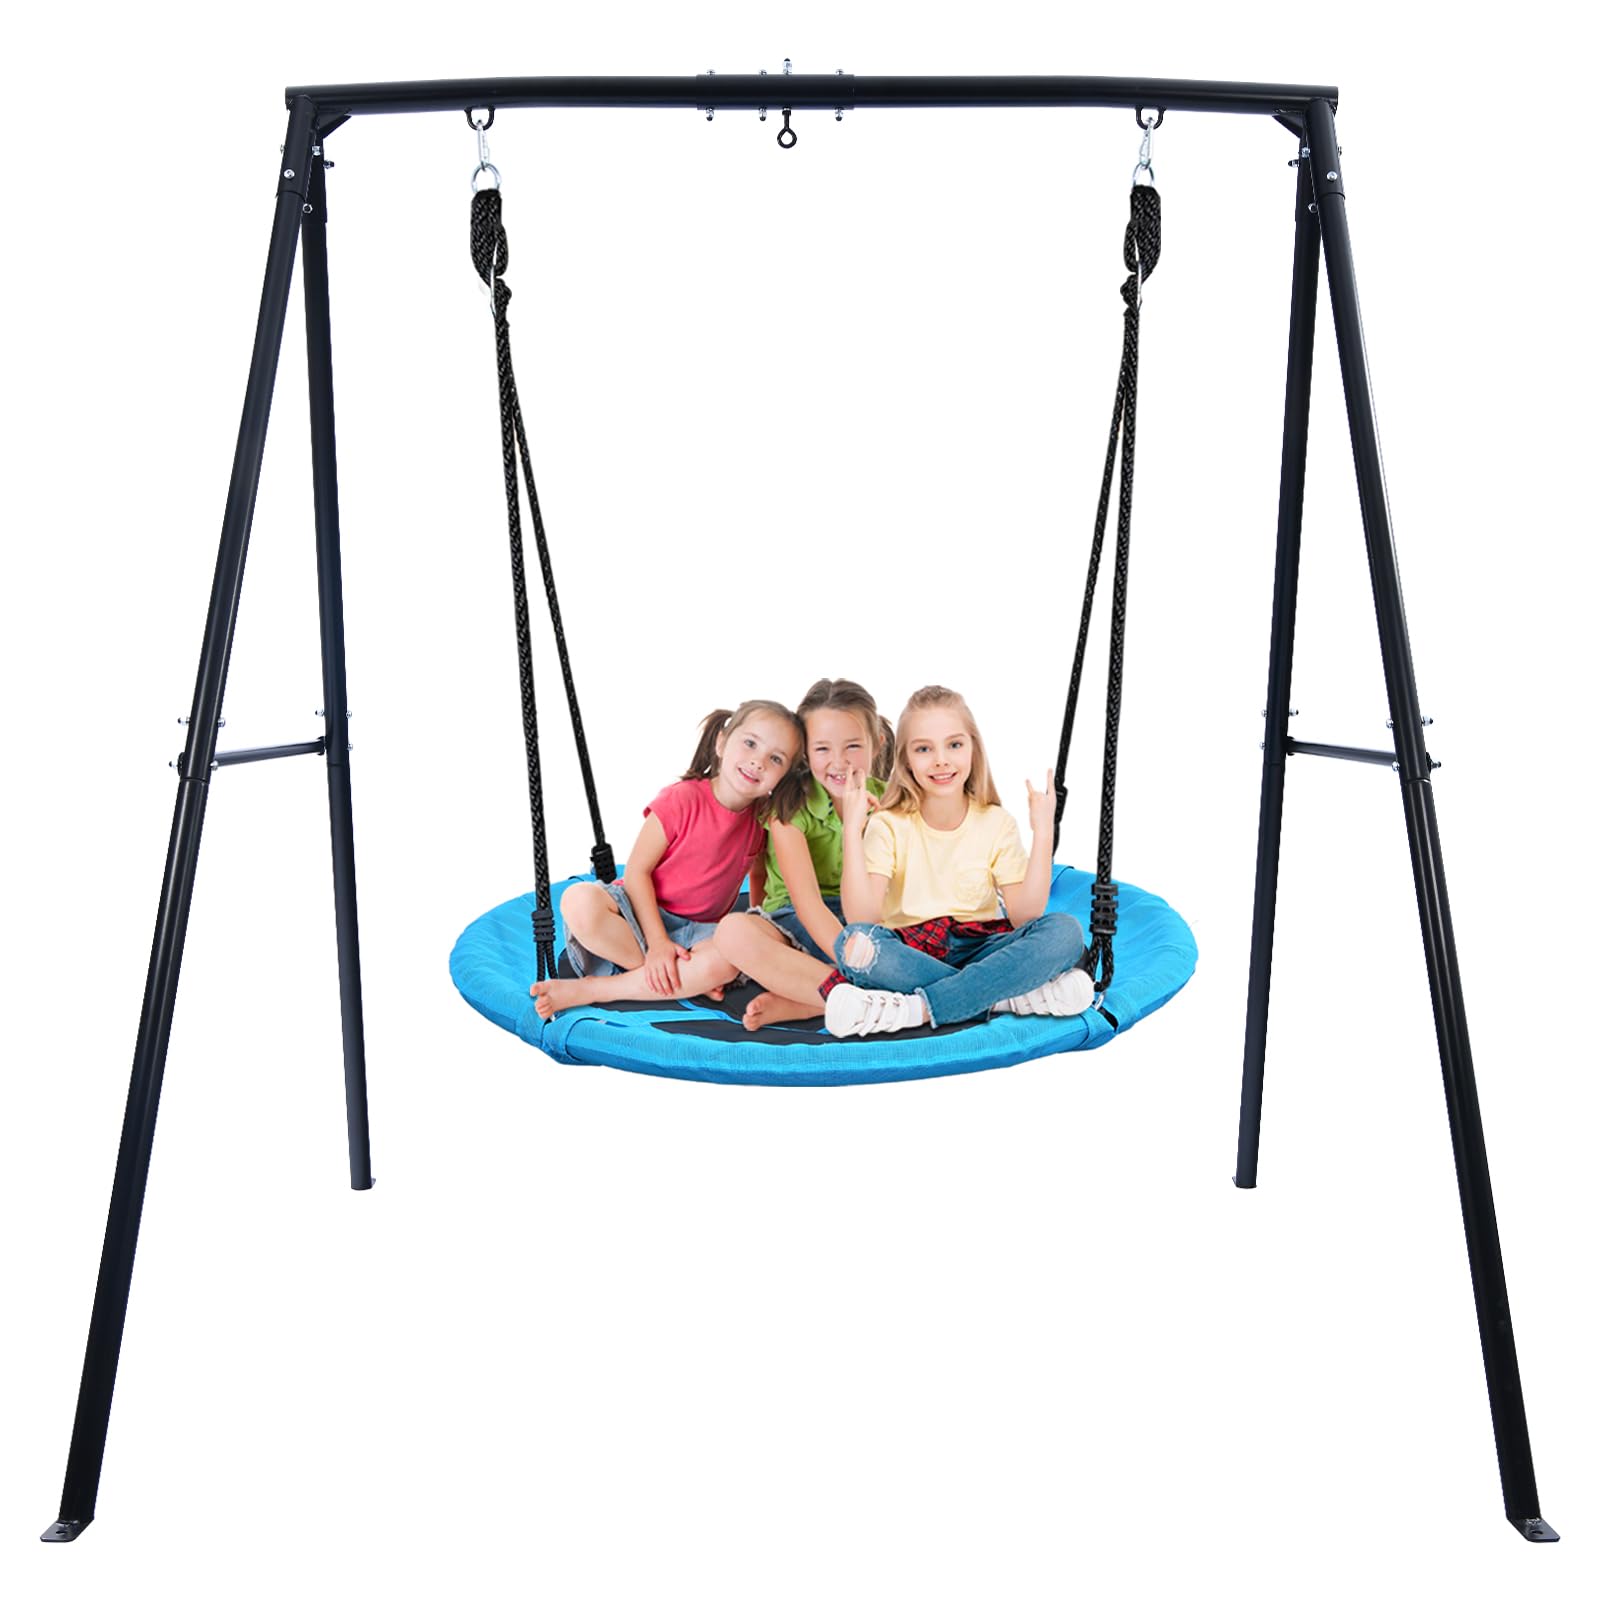
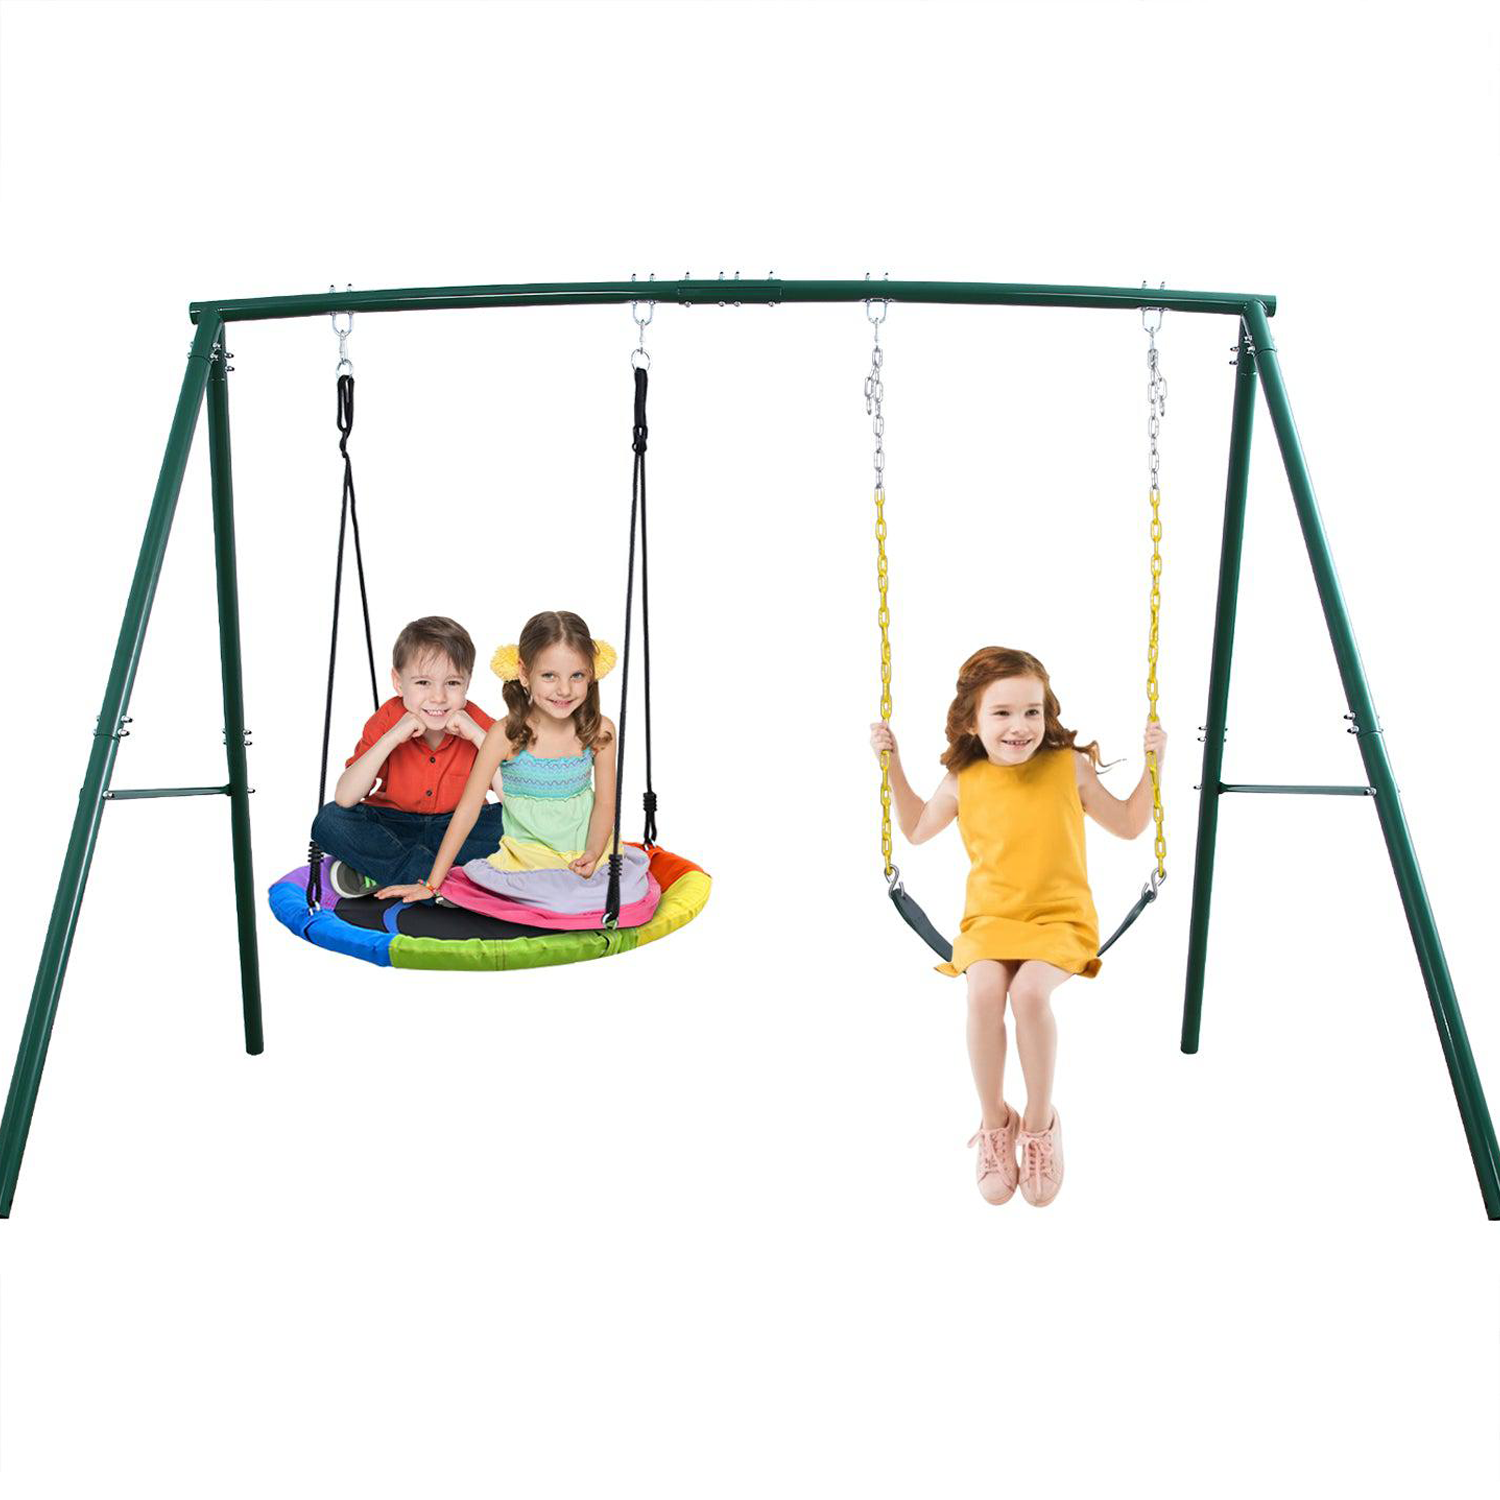
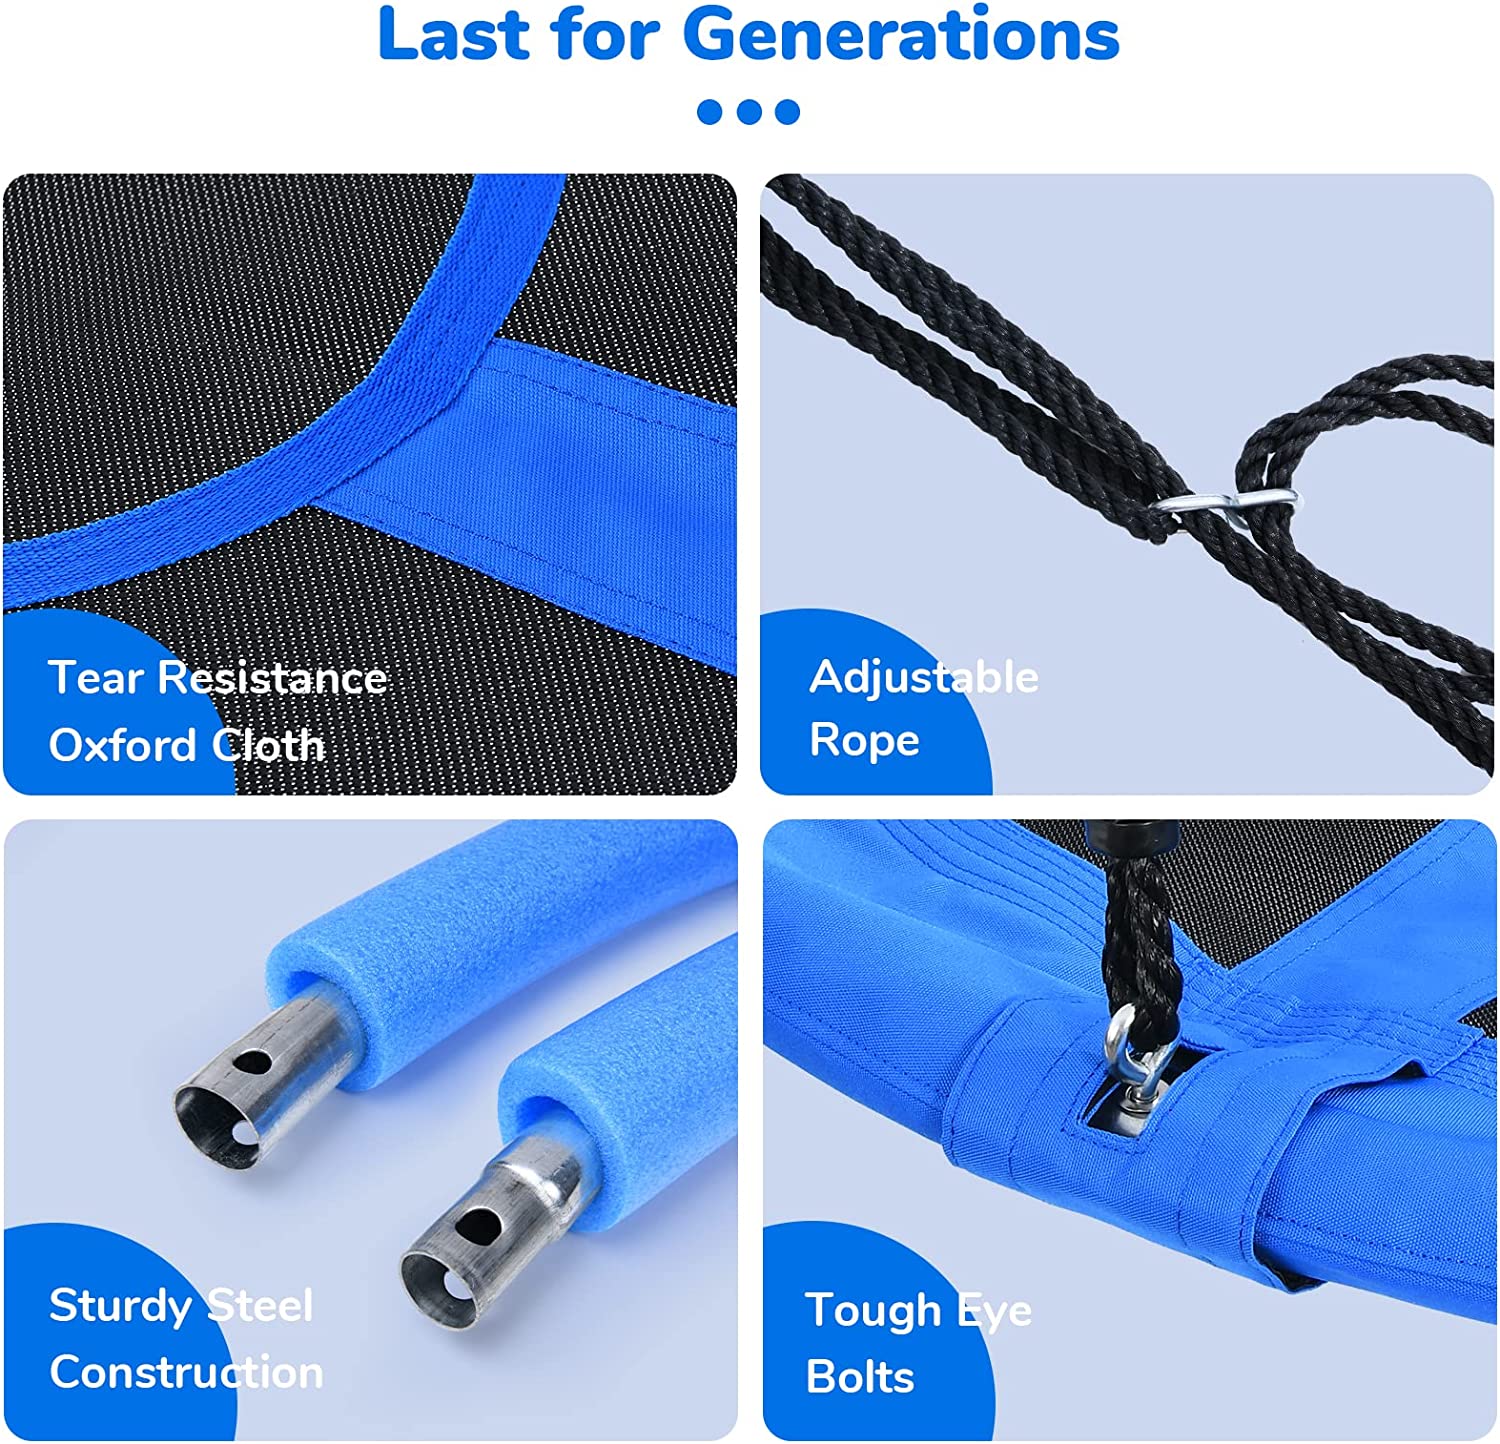
STEP 5 - Swing Seat Assembly
Connect the swing seat chains to the top bar by inserting J2 through A2, and secure with J4, J1 and J3 as shown below.
Note: Use the special socket wrench provided to fully tighten the bolts and nuts.
Note: Please do not over tighten as it will damage the plastic swing seat and will cause the
swing seat to break!
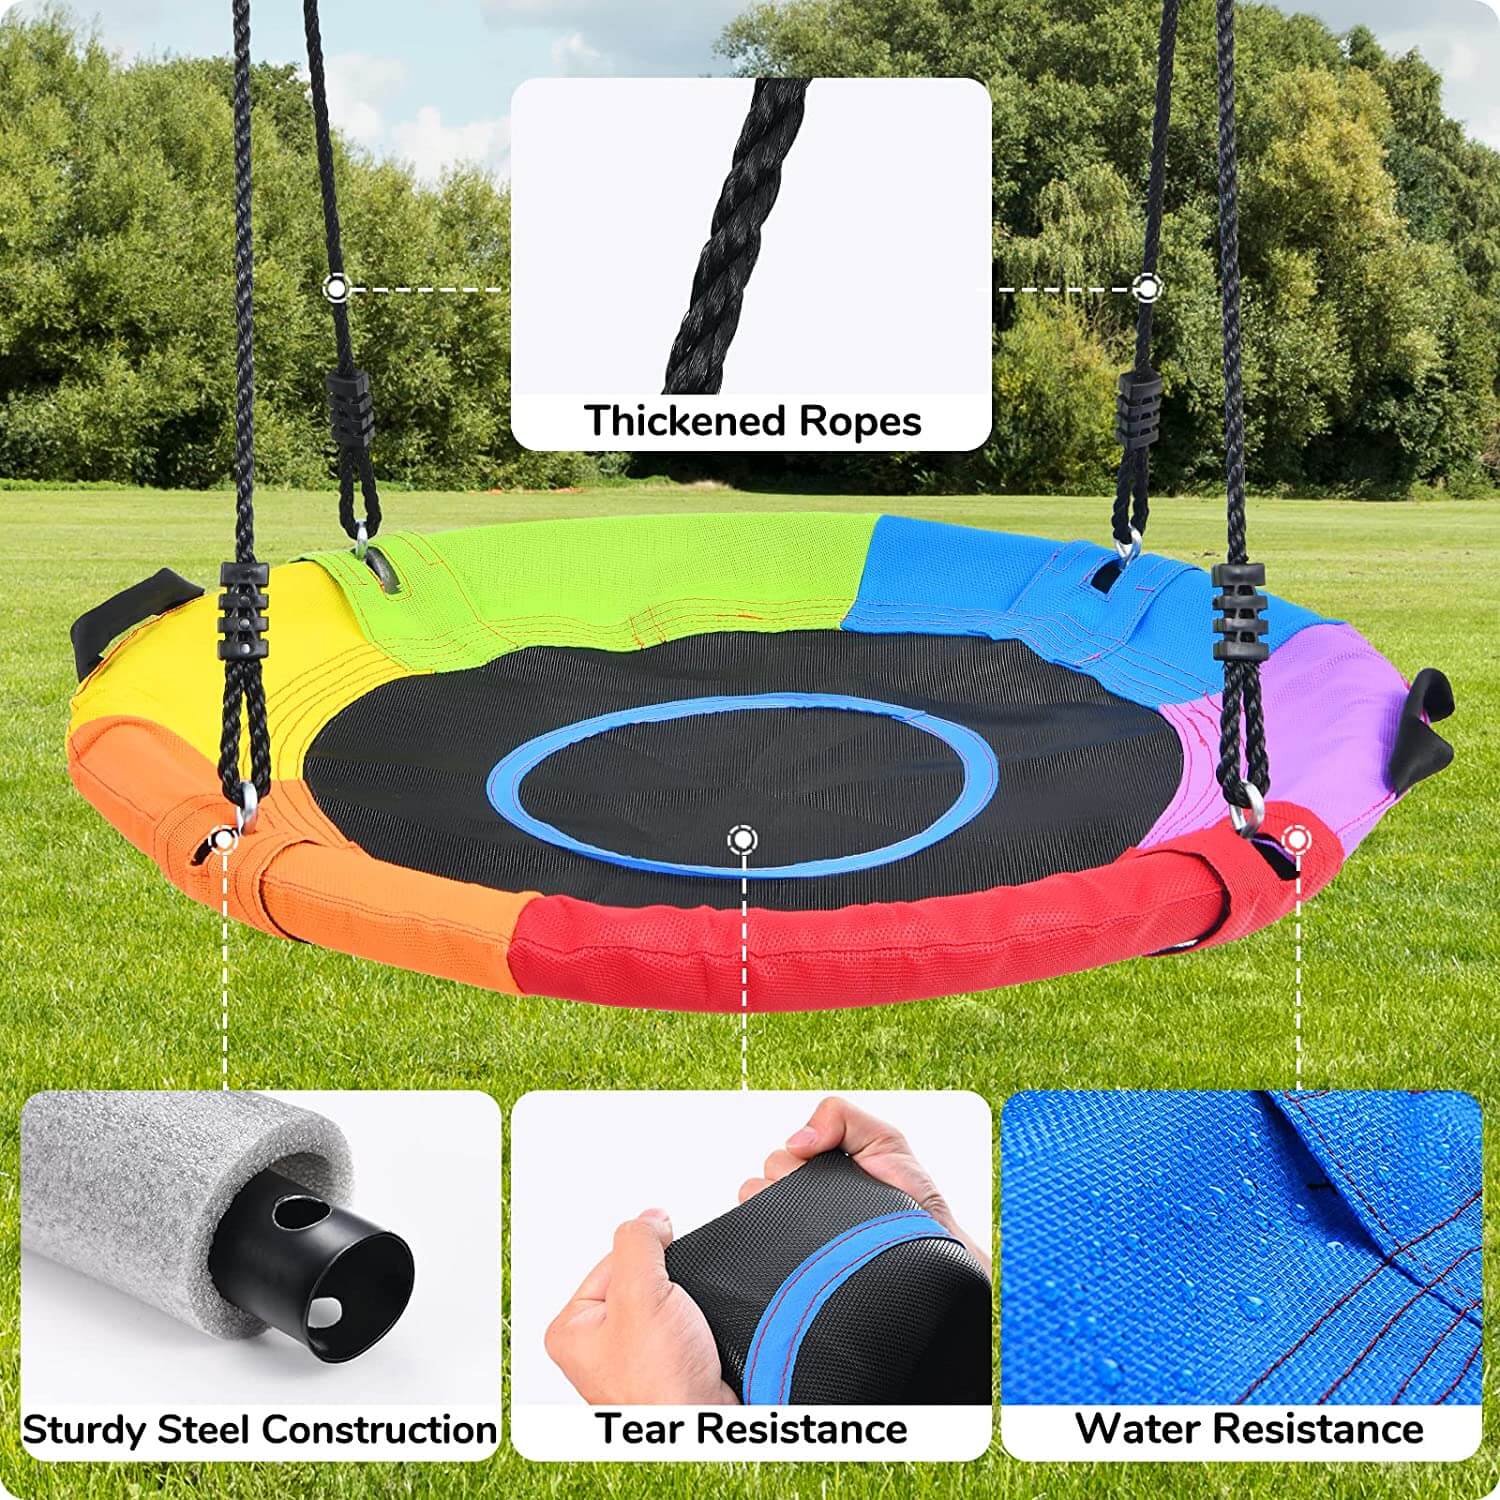
Step6–Flying Saucer Assembly
Slide Flying Saucer Tubes R4 into the pockets of Flying Saucer R7 as shown in DIAGRAM A.
Connect the four tubes together and align the holes with the round holes facing downward.
Connect Short Eye Bolt with string R1 to the Flying Saucer, secure with F4 and F3 as shown in DIAGRAM B.

Step7–Flying Saucer Assembly (continued)

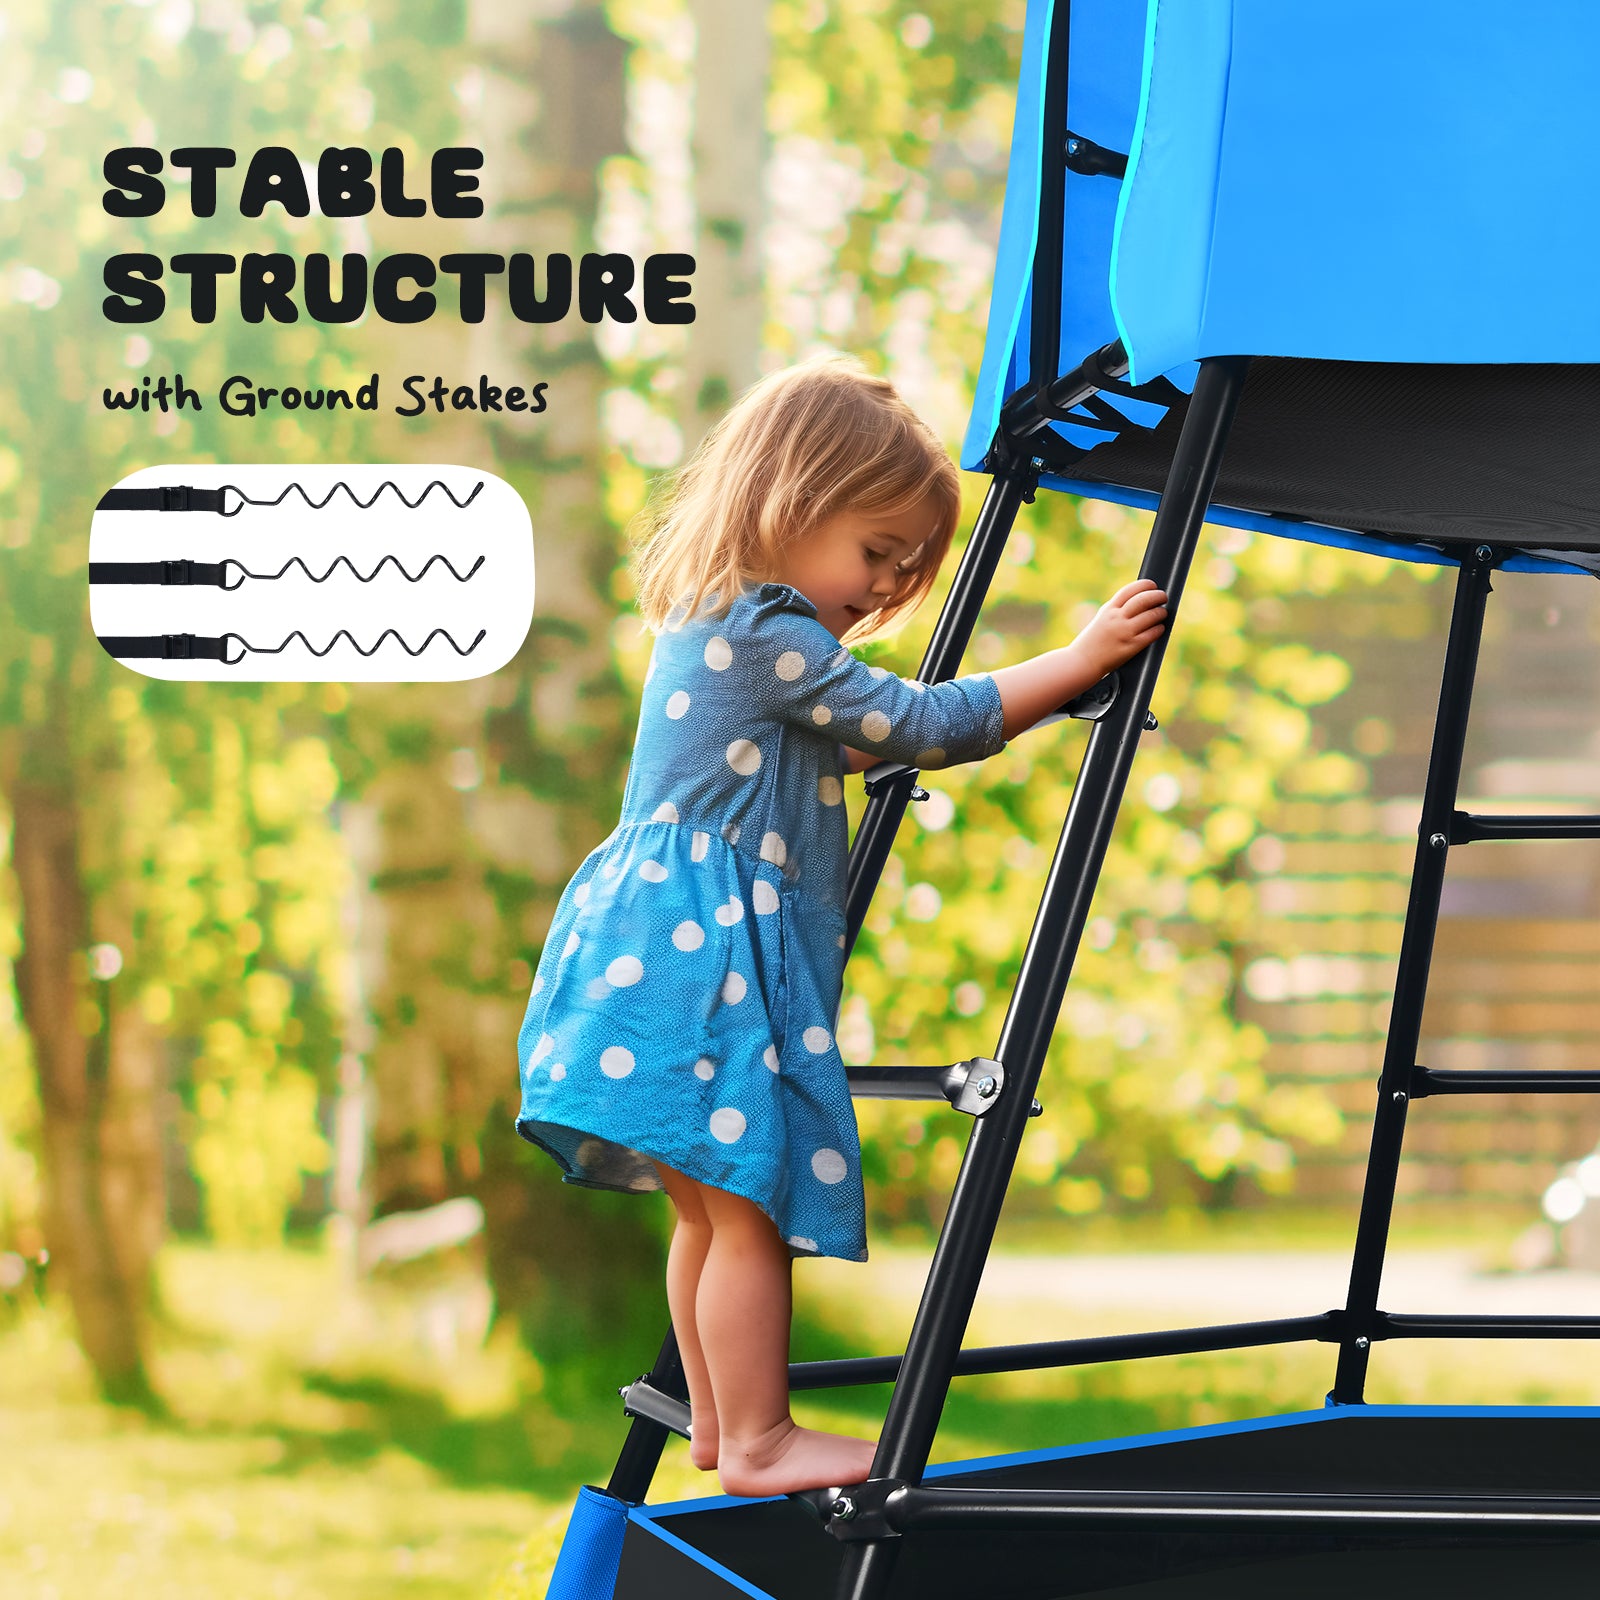
STEP 8 - Ground Stakes Assembly
Place the ground stakes near the swing set's lower legs, screw them into the ground, then secure the stakes to the legs using E5, E3, E4,E6 and E2 as shown below.

Congratulations!
You have now completed installing the equipment. Please make sure to go back and check all hardware and ensure all bolts and nuts are securely tightened before using the playground equipment.
Warning!
Do not let children use the playground equipment until it is properly assembled and anchored.
Constant adult supervision is required during use. Please make sure all supervisors have read and understand the warnings and use instructions contained in this manual. Do not allow access by children if any parts are missing or damaged. Call our customer service for assistance if any replacement parts are needed. Only our original parts should be used. Use of non-authorized parts shall void the warranty on the product.

Related post

13
Nov

17
Oct

04
Sep
RECENT POSTS